For this first tutorial i am going to explain how i did my logo. It is a very basic tutorial as the process in itself is really simple.
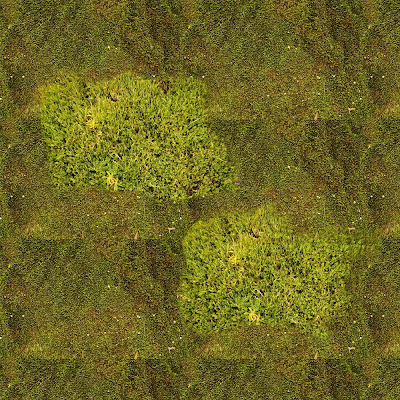 1 - First i load photoshop and start paint some grass with a few picture taken from my texture library
( something very important you should do, along the way while working, always build your own library of texture. keep it onto a portable harddrive this way it will always follow you. very usefull)
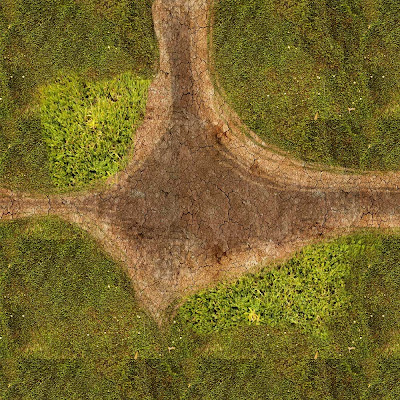
I paint a road
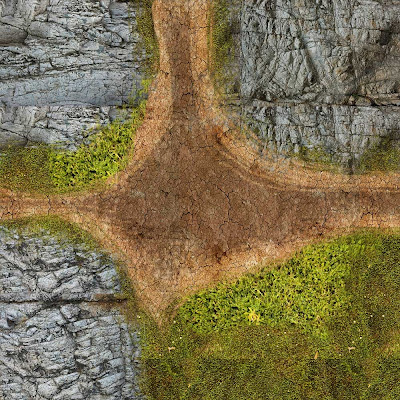 A few rocks
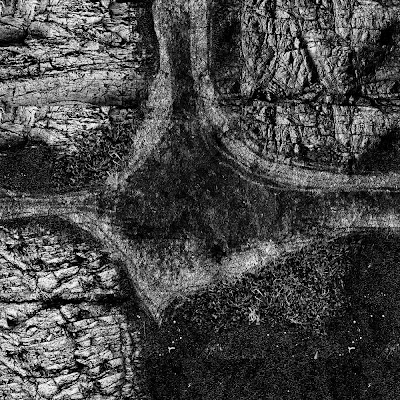 When finished, i create a black and white version to use later in 3ds max as my bump and displacement map.
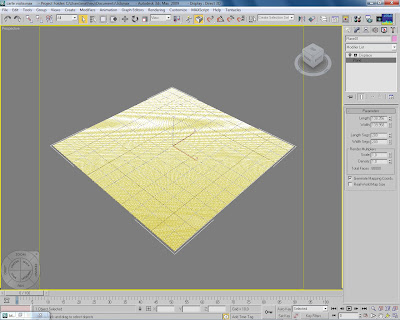 2 - I fire up 3ds max, and create a square plan with 200 by 200 segments. It is ery heavy but necessary if i want to have a nice displacement later on.
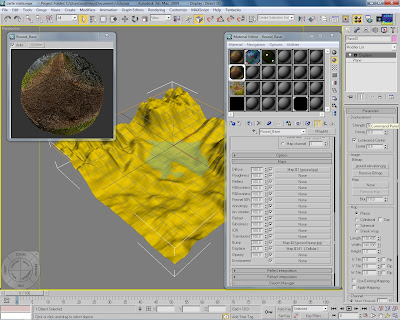 I select my plan, go to the modifier tab and choose displace.
In the texture slot i load my black and white image of the ground and change the displace strenght to 54 and blur my map to 10.
(At any time you can click the picture on top to have more details.)
I open the material editor and choose a v ray material. Don't change anything, just load my ground texture onto the diffuse slot, my black and white ground onto the bump slot, and i add a cellular map onto the displace slot. Apply it to your plan.
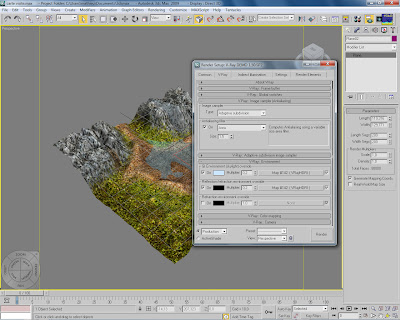 3 - Time to render. Turn on Vray and load a hdri map into the environnement slot for GI environnement and reflection/ refraction.
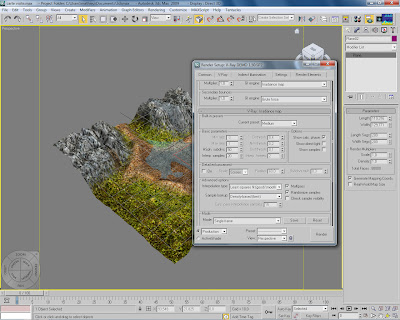 And here are the settings for the final render.
click render....
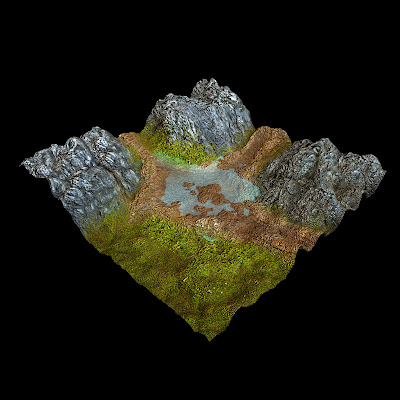 Et voila. Load the render in illustrator, and create your own logo.
Thats all, as you can see it is very basic and simple. 3D can be usefull for small design like so for logo and other visual identity.
cheers.
hi everyone, following a huge demand from the crowd, i will be time to time creating tutorials about 3d, 2d, editing, compositing, matte painting and all.
so i hope u will enjoy. and do comment if you please.
Subscribe to:
Posts (Atom)
